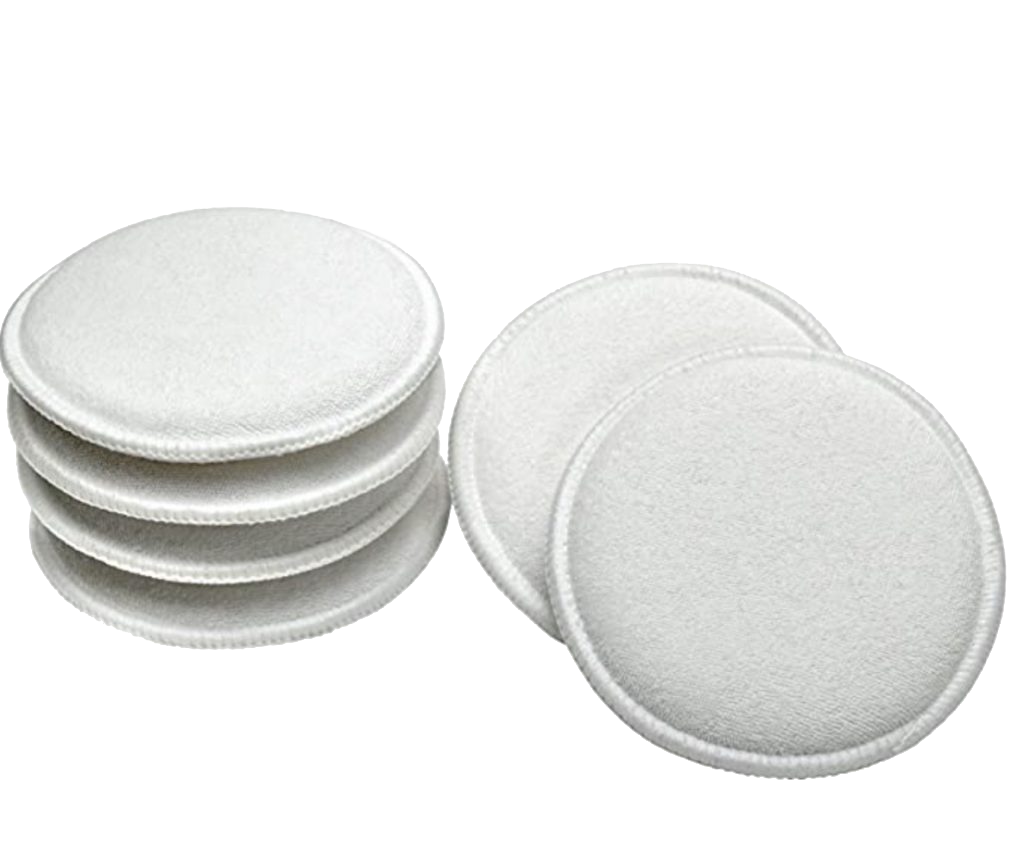
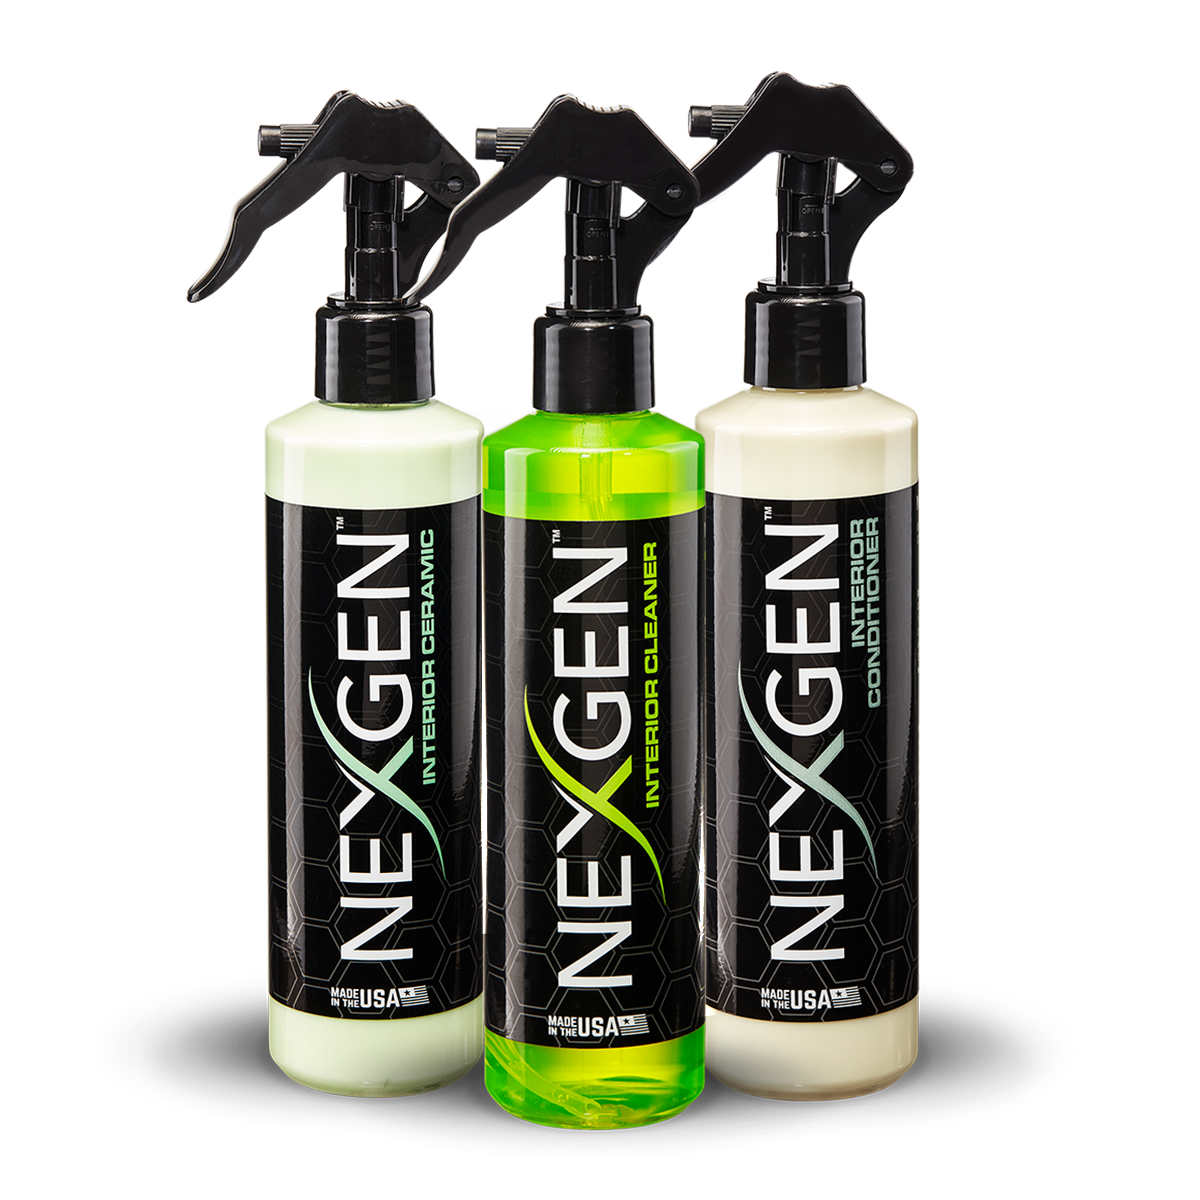
How to Clean and Condition Leather Seats the Right WayNovember 2026 How to Clean and Condition Leather Seats the Right Way Leather seats are one of the first things people notice in a car, and one of the easiest to get wrong. Body oils, sunscreen, denim dye and dust work into the grain. The wrong cleaner, or too much conditioner, can leave the surface stiff, sticky or faded. This guide covers how to clean and condition leather seats at home. It is a routine you can repeat every season. A note on sources: the guidance below draws on our review of detailing guides and buyer-focused product roundups from across the industry. It is aggregated research by Nexgen Detailing, not lab testing. Where sources disagree, such as on how often to condition, we say so. Step 0: Know What Kind of Leather You Have Most modern cars use coated (pigmented) leather. It has a thin polyurethane-type topcoat that resists spills and wear. Uncoated leather, such as aniline or semi-aniline, is more porous and more delicate, and it stains easily. Here is a quick test. Put a drop of water on a hidden area. If it beads or sits on the surface, you almost certainly have coated leather. If it soaks in fast and darkens the leather, treat it as uncoated. Use gentler products and a lighter hand, and check your owner's manual. This matters because the coating is what you are really cleaning and protecting. Harsh chemicals break it down over time, and that is where cracking and fading start. What You Need A soft vacuum brush attachment A pH-neutral leather cleaner. Reviewers and detailing guides consistently say to look for "pH-balanced" or "pH-neutral" on the label. A soft-bristle leather or horsehair brush Several clean microfiber towels (one to clean, one to dry, one to buff) A foam or microfiber applicator pad for conditioner A water-based leather conditioner Good microfiber and applicators make a real difference. Cheap towels can leave lint or scratch the finish, so see the Nexgen detailing accessories for interior-safe options. What to avoid: dish soap, bleach, ammonia and all-purpose household degreasers. Multiple sources warn these can strip the topcoat. Olive oil and other kitchen "hacks" also get flagged, since they can leave seats greasy and attract dust. Quick Reference: What to Use Where Seat Type Cleaner Conditioner Best for Coated / pigmented leather pH-neutral leather cleaner Light water-based conditioner Most modern cars Uncoated / aniline Gentle, minimal-moisture cleaner Conditioner made for uncoated leather Older or luxury interiors Perforated leather Cleaner sprayed onto a brush, not the seat Very thin coat only Ventilated seats Leatherette / vinyl Mild interior cleaner Usually not needed Budget trims, high-wear areas Step 1: Vacuum Thoroughly Use a soft brush attachment and work into the seams, stitching and the crease where the seat back meets the cushion. Grit left in these areas acts like sandpaper once you start scrubbing. Take your time here. Almost every guide we reviewed puts vacuuming first, because it removes the loose abrasive material before any wet work begins. Step 2: Test in a Hidden Spot Apply a small amount of cleaner to a towel and wipe an inconspicuous area, such as the lower side of the seat base. Wait a few minutes and check for color transfer or dulling. It takes a minute and protects you from the one mistake you cannot undo. Step 3: Clean in Small Sections Spray the cleaner onto a brush or towel, not directly onto the seat. This keeps liquid out of seams and perforations. Gently agitate one section at a time (a bolster, a cushion panel) with the soft brush. You are lifting dirt, not scrubbing the leather clean. Wipe the foam and loosened dirt away with a clean, slightly damp microfiber. Follow with a dry towel. Work from top to bottom so you do not drip dirty cleaner over finished areas. Use light pressure on perforated leather, and work extra carefully around seat heating and cooling vents. Dark denim stains and ink-like marks: these often need a second pass. Do not escalate to stronger chemicals. Repeat the gentle process, and let the leather dry between attempts. Step 4: Let It Dry Fully Leather should be dry to the touch before you condition it. Some guides recommend letting seats sit for a couple of hours, and a few suggest overnight. Park out of direct sun with the windows cracked. Conditioning damp leather traps moisture and can leave a blotchy finish. Step 5: Condition Lightly Conditioner replaces some of the moisture and flexibility that cleaning and everyday wear take out. The key word is thin. Put a small amount on the applicator pad, not on the seat. Work it into the leather in overlapping circular motions, one section at a time. Give it a few minutes to absorb. Buff off any excess with a clean, dry microfiber. Finished leather should feel soft and look like a natural satin or matte, not wet or glossy. A greasy shine means too much product. Slippery seats are also a safety concern, so buff until nothing transfers to your hand. One note: some detailers argue that coated leather does not absorb conditioner the way raw leather does. In that case the product mostly acts as a surface protectant. That is still useful for UV and wear resistance, but it is another reason to keep coats light. How Often Should You Clean and Condition? Sources vary, and climate matters more than any single rule: Light wipe-down: every two to four weeks, or after spills. This removes dust and body oils before they set in. Full clean: every one to three months for daily drivers. Conditioning: most guides land on every three months. Some suggest every one to two months in hot, sunny regions, and others stretch to six months for garaged cars. A practical approach is to clean on the seasonal schedule and condition when the leather starts to feel dry, tight or slightly dull. Common Mistakes to Avoid Soaking the seat. Moisture reaches the foam and seams and can cause odors. Using stiff brushes. They can scuff the topcoat. Skipping the vacuum. Grit scratches the finish. Over-conditioning. It leaves a sticky surface that collects dust. Ignoring the sun. UV is the biggest long-term enemy. Use a windshield shade or park in shade when you can. Don't Forget the Rest of the Interior Seats are only part of the cabin. Once they are done, your steering wheel gets the most hand contact of anything in the car, so follow our guide on how to clean a leather steering wheel. For a full-cabin workflow, see our ultimate car interior cleaning guide. If you want a second walkthrough focused only on seats, we also cover how to clean leather car seats and cleaning car seats in five easy steps. You can find more how-tos on the Nexgen Detailing blog. You can find Nexgen products at the official store at getnexgen.com, on Amazon through Nexgen's official storefront, at O'Reilly Auto Parts (in-store and oreillyauto.com), and at select Walmart locations. FAQ Can I use baby wipes or dish soap on leather seats? It is best not to. Many wipes and household soaps are not pH-balanced for automotive leather and can dry out the topcoat over time. Should I condition new leather? New coated leather is usually well protected. A light clean and a thin protectant coat every few months is plenty. How do I clean perforated leather? Spray the cleaner onto a brush or towel, never the seat, and use minimal moisture so liquid does not enter the perforations. Is conditioner the same as a leather protectant? They overlap. Conditioners aim to keep leather supple, and protectants add a UV and wear barrier. Many modern products do both, so read the label. The Bottom Line A good leather routine is simple: vacuum, test, clean gently with a pH-neutral cleaner, let the seats dry fully, then apply a thin coat of conditioner and buff. Do it on a regular schedule and your seats will stay soft and clean for years. Back to blog