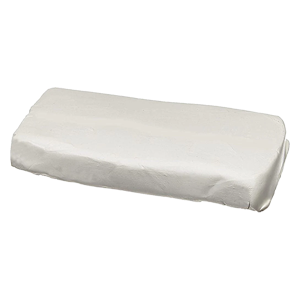
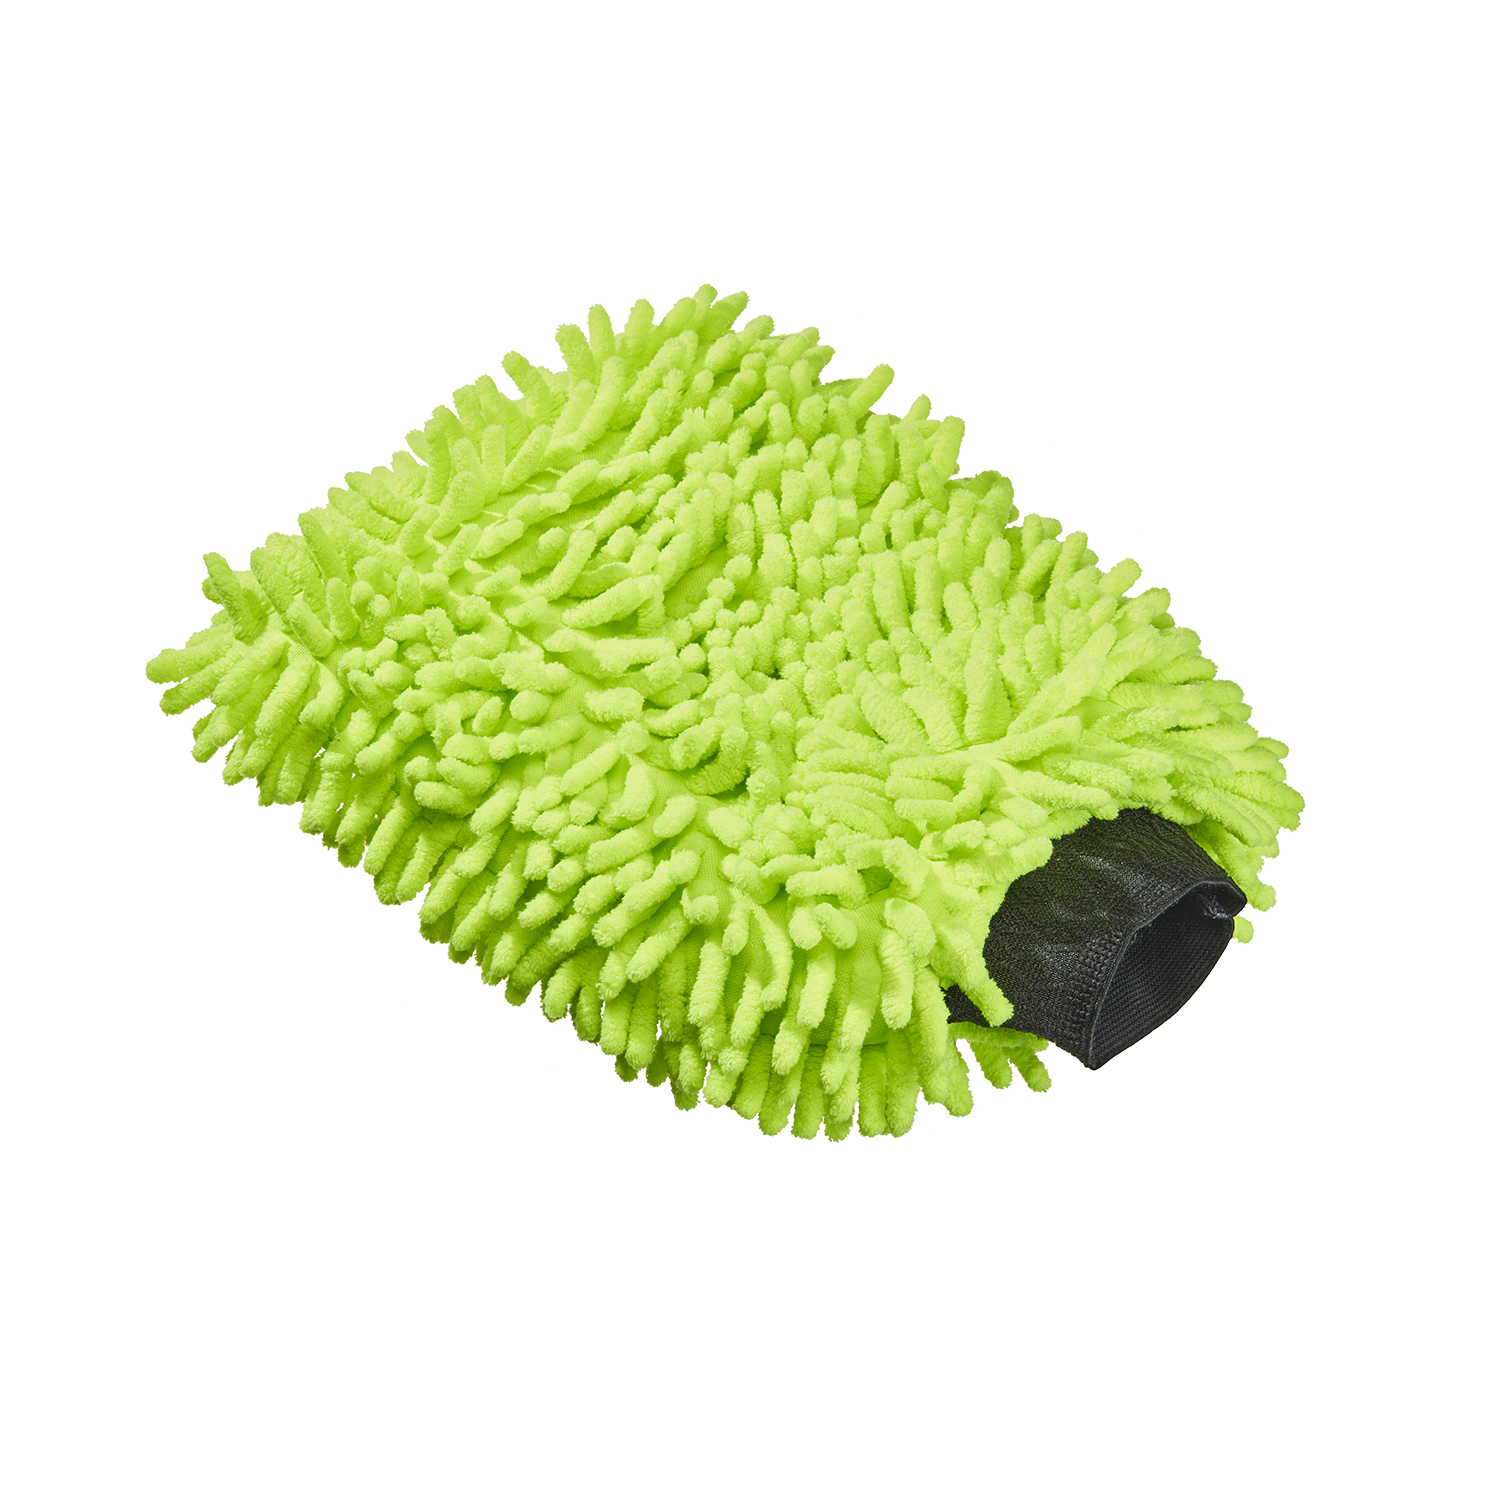
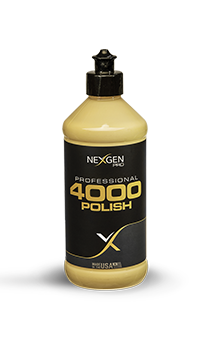
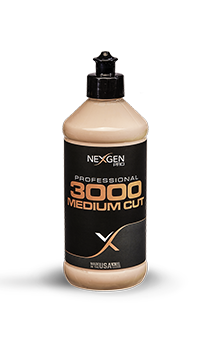
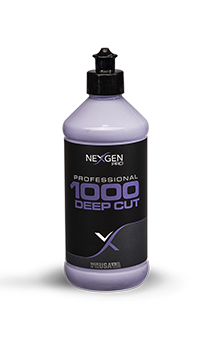
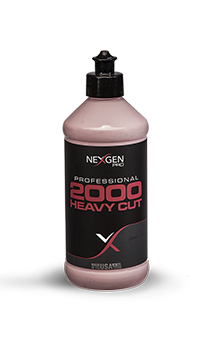
How to Remove Water Spots from Paint and GlassJune 2026 How to Remove Water Spots from Paint and Glass Water spots are one of the most deceptively stubborn problems in car detailing. They look minor — a few white rings after a sprinkler hit or a rain shower — but left untreated, they can etch permanently into your clear coat and glass. The good news: with the right approach, even stubborn mineral deposits are fully fixable, and preventing them from coming back is easier than most people think. This guide walks you through exactly what water spots are, how to match your removal method to the severity of the spot, and what products give you the best results on both paint and glass. --- Understanding the Three Types of Water Spots Not all water spots respond to the same treatment. Detailers and paint correction specialists categorize them into three stages — and misreading the stage is the most common reason a DIY attempt falls short. Type 1 — Surface Deposits The mineral-rich water has evaporated and left a chalky residue sitting on top of the clear coat. These spots haven't bonded to the surface yet. A fresh wash or light quick-detail spray can often knock them out. Type 2 — Bonded Deposits Calcium and magnesium salts have baked onto the paint under heat or UV exposure. They're chemically fused to the surface, not just resting on it. A regular wash won't touch them — you need a dedicated chemical remover or a clay bar treatment. Type 3 — Etched Spots The minerals have eaten into the clear coat itself, leaving crater-like rings or hazing that you can feel with a fingernail. These require abrasive paint correction: a compound, a machine polisher, or both. The longer they sit, the deeper they go. Identifying your type before you reach for a product saves time, money, and paint. --- What You'll Need Gather your supplies before you start. Working section-by-section while the panel is shaded is critical — direct sun will cause products to dry too fast and streak. Freshly washed and dried car (no loose dirt on the surface) pH-neutral car wash soap Distilled white vinegar (for Type 1) Dedicated water spot remover (for Type 2) Clay bar or clay mitt + lubricant (for stubborn Type 2) Polishing compound and applicator or dual-action polisher (for Type 3) Microfiber towels — several clean ones Protective coating or ceramic spray for the finish --- Step-by-Step: How to Remove Water Spots from Paint Stage 1 — Light Surface Spots (Type 1) Start with the gentlest possible approach and only escalate if needed. Wash the car thoroughly with pH-neutral soap and a microfiber wash mitt. Rinse with distilled or filtered water if you're in a hard-water area — this avoids re-depositing minerals. Dry immediately and completely with a high-quality microfiber drying towel or forced-air blower. This alone handles most fresh spots. For any white haze remaining after drying, mix equal parts distilled white vinegar and water in a spray bottle. Mist on the affected panel, allow 30–45 seconds of dwell time, then wipe gently with a clean microfiber. Rinse and dry. If the spots haven't cleared at this point, you're dealing with Type 2. Stage 2 — Bonded Mineral Deposits (Type 2) A chemical water spot remover works by lowering the pH to dissolve mineral bonds without physically abrading the surface. Meguiar's Water Spot Remover, for example, carries roughly a 4.4-star average from buyers across retailer platforms and is regularly noted for clearing calcium deposits from clear coat, chrome, and trim — though some buyers report it takes 2–3 applications on glass. Apply the spot remover to a folded microfiber panel towel. Work one section (roughly 2 ft × 2 ft) at a time. Use light circular or straight-line pressure. You're not scrubbing — the chemistry is doing the work. Allow the dwell time specified on the product (typically 30–90 seconds). Don't let it dry on the panel. Wipe off and inspect. Repeat if needed on a fresh towel. Follow up with a clay bar on any spots that don't fully dissolve. Apply clay lubricant generously, run the clay in straight back-and-forth strokes (never circular), and re-lubricate frequently. You'll feel the surface go slick as contaminants lift. Rinse the panel completely and dry. > If spots are still visible after both chemical treatment and clay, you've crossed into Type 3 territory. Stage 3 — Etched Spots (Type 3) Etched water spots require abrasive paint correction — removing a thin layer of clear coat to bring the surface level. This is where a purpose-built compound makes the difference. The Nexgen 2000 Heavy Cut is built specifically for this kind of correction work, delivering aggressive cutting power to tackle deep etching, oxidation, and heavy contamination on clear coat finishes. For lighter etching that's caught early, the Nexgen 1000 Deep Cut offers strong cutting ability with a slightly finer finish. Once etching is corrected, finish with Nexgen Scratch & Swirl Remover to refine the surface and restore full gloss before protection. Process: Work on a freshly washed, cool panel in a shaded area. Apply a small amount of compound to a foam cutting pad on a dual-action polisher (or by hand with a foam applicator). Spread product thinly across the work area first, then increase machine speed and work in overlapping passes — horizontal, then vertical. Wipe off residue with a clean microfiber and inspect under multiple lighting angles, including direct light. If etching is corrected, follow with a finishing polish to bring gloss back, then protect. If you're new to paint correction, take a look at the Nexgen guide on how to remove scratches from a car — the technique overlaps significantly and will build your confidence before you start. --- How to Remove Water Spots from Glass Glass requires a slightly different approach than paint because it's harder and can't be corrected with conventional polishing compounds designed for clear coat. Type 1 on glass: Vinegar solution (equal parts distilled vinegar and water) applied with a microfiber, left 45–60 seconds, then wiped. Often solves fresh sprinkler spots completely. Type 2 on glass: A dedicated glass water spot remover or a fine glass polish applied by hand with a wool or foam applicator. Products labeled "cerium oxide" or "glass polish" specifically target mineral bonding on glass surfaces. Type 3 on glass: Severe etching on glass usually requires a professional glass restoration service with rotary polishing and cerium oxide compounds. Prevention is far easier than correction at this stage. After clearing glass, apply a hydrophobic glass treatment to keep water beading and reduce re-contamination. This also dramatically reduces interior fogging — if that's an issue on your windshield, the Nexgen guide on how to prevent car windows from fogging up is worth reading alongside this one. --- Water Spot Removal at a Glance Approach Best For Spot Severity Works On Nexgen 2000 Heavy Cut Deep etching + paint correction Type 3 Paint / clear coat Nexgen 1000 Deep Cut Moderate etching, early correction Type 2–3 Paint / clear coat Nexgen Scratch & Swirl Remover Refining after correction Type 2–3 finish step Paint Chemical Water Spot Remover Bonded mineral deposits Type 2 Paint, glass, trim Clay Bar Treatment Stubborn surface contamination Type 2 Paint, glass White Vinegar Solution Fresh surface residue Type 1 Paint, glass Nexgen Ceramic Spray Long-term hydrophobic prevention Prevention Paint, glass, trim --- Prevent Water Spots Before They Start Once you've done the work to correct your paint, protect it so you're not repeating the process every few months. A high-quality ceramic coating is the most effective prevention available. Nexgen Ceramic Spray is the go-to choice here. Formulated with 13% SiO2 — significantly higher than most consumer ceramic sprays — it lays down an aggressive hydrophobic barrier that causes water to bead tightly and sheet off rather than pooling and evaporating into mineral deposits. Across more than 8,455 Amazon reviews, it holds a 4.5-star average, with buyers consistently highlighting the beading behavior and ease of application. Independent review outlets have scored it 9/10 overall, with perfect marks for shine and hydrophobicity. Apply it to paint, glass, headlights, and trim after your spot-removal session for a finish that actively fights future contamination. You can pick up Nexgen Ceramic Spray and the full range of correction tools — including microfiber applicators and polishing pads — at getnexgen.com, on Amazon's official Nexgen storefront, at O'Reilly Auto Parts, and at select Walmart locations. --- Frequently Asked Questions Can I use household vinegar on my car's paint? Yes — diluted 50/50 with distilled water, white vinegar is mild enough for clear coat and works well on Type 1 spots. Don't use it undiluted, and don't let it dwell more than a minute or two without rinsing. Will water spots come back after I remove them? Yes, if you don't apply protection. Water spot removal addresses the existing damage; a ceramic spray or sealant creates the hydrophobic layer that prevents minerals from bonding in the first place. My water spots are on a ceramic-coated car — what do I use? Use a remover specifically labeled coating-safe (pH-neutral or near-neutral). Avoid strong acid-based removers on coated surfaces, as they can degrade the coating. Then reapply your ceramic spray once spots are cleared. How long can I leave water spots before they cause permanent damage? Type 1 spots: days to a few weeks before they bond. Type 2 spots: weeks to months before they etch. Type 3 etching: permanent without paint correction. The faster you act, the simpler the fix. Is paint correction (Type 3) something I can DIY? Yes, with the right tools and technique. A dual-action orbital polisher is significantly more forgiving than a rotary, and starting with a less aggressive compound and working up is always the safer path. The Nexgen blog covers paint correction fundamentals in depth if you want to build your technique before starting. Back to blog