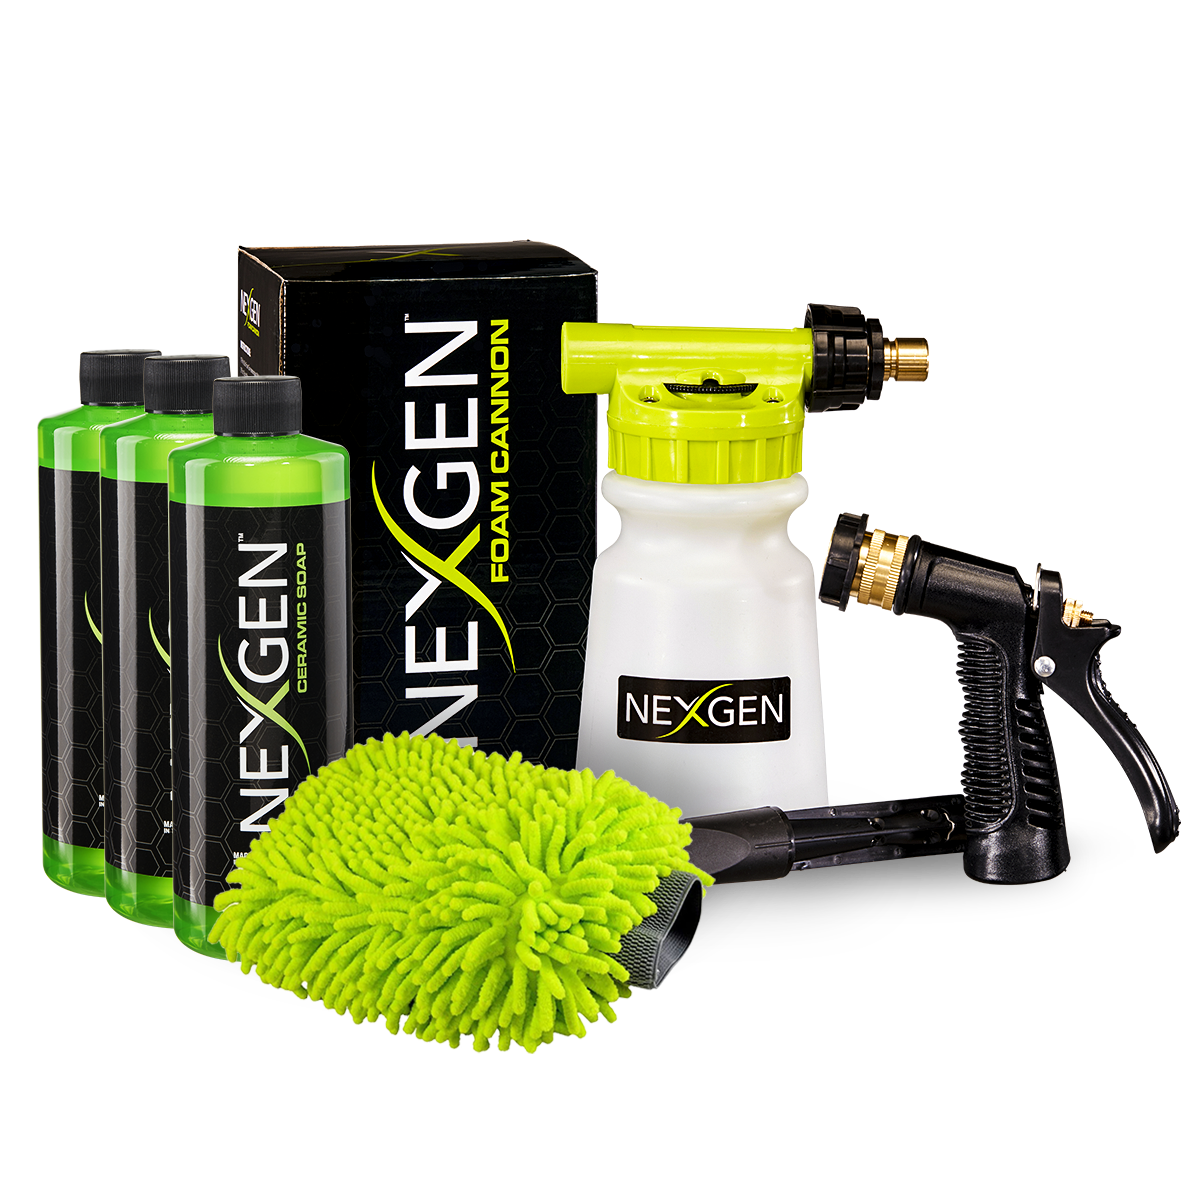
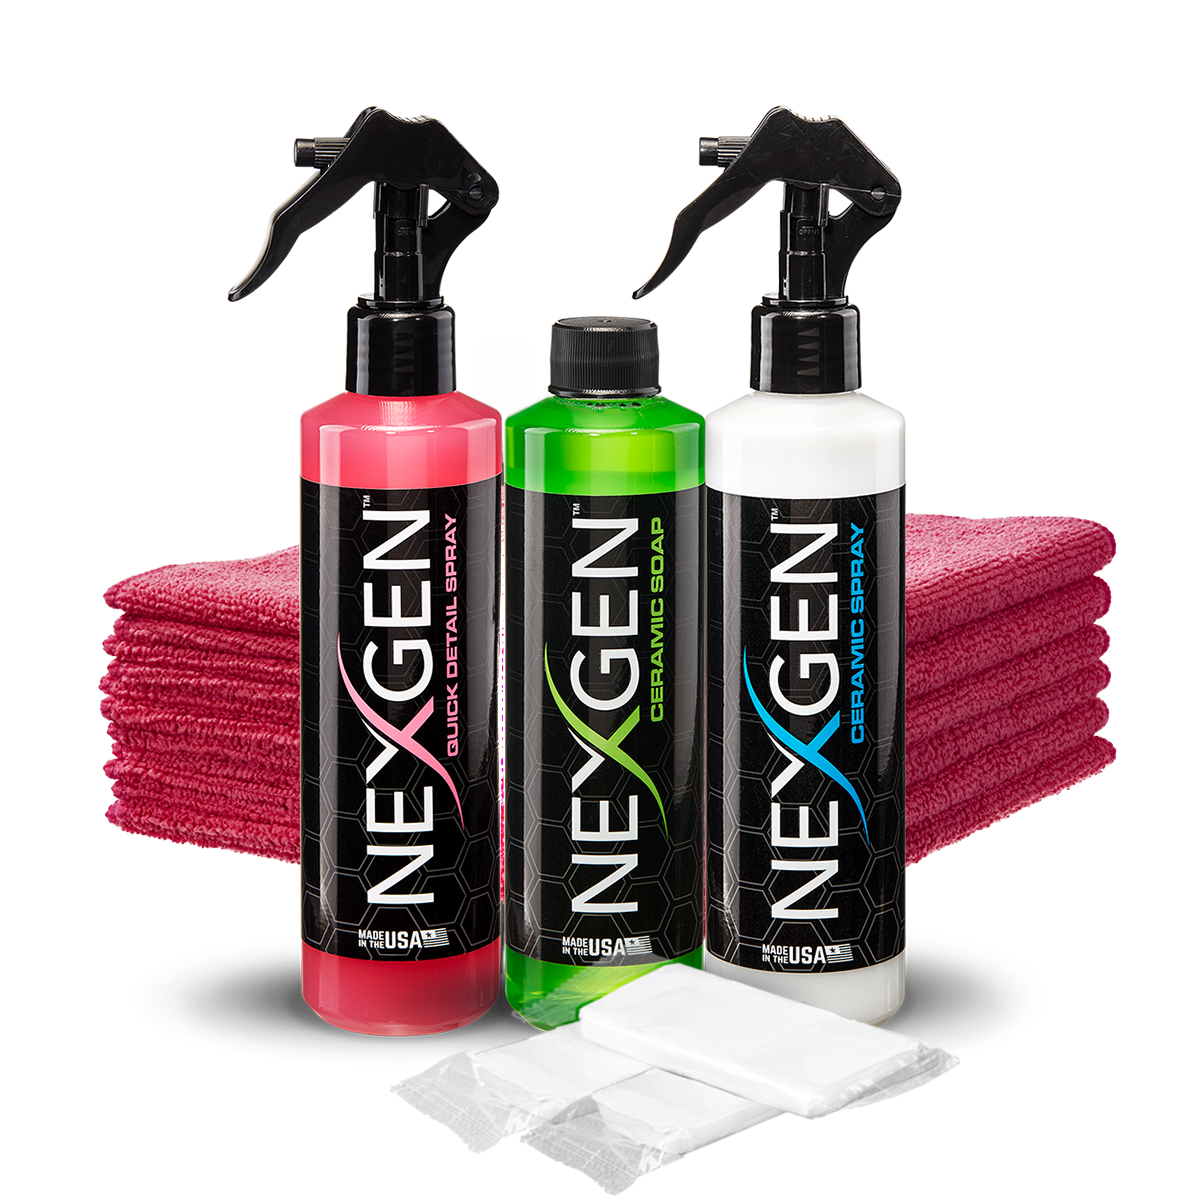
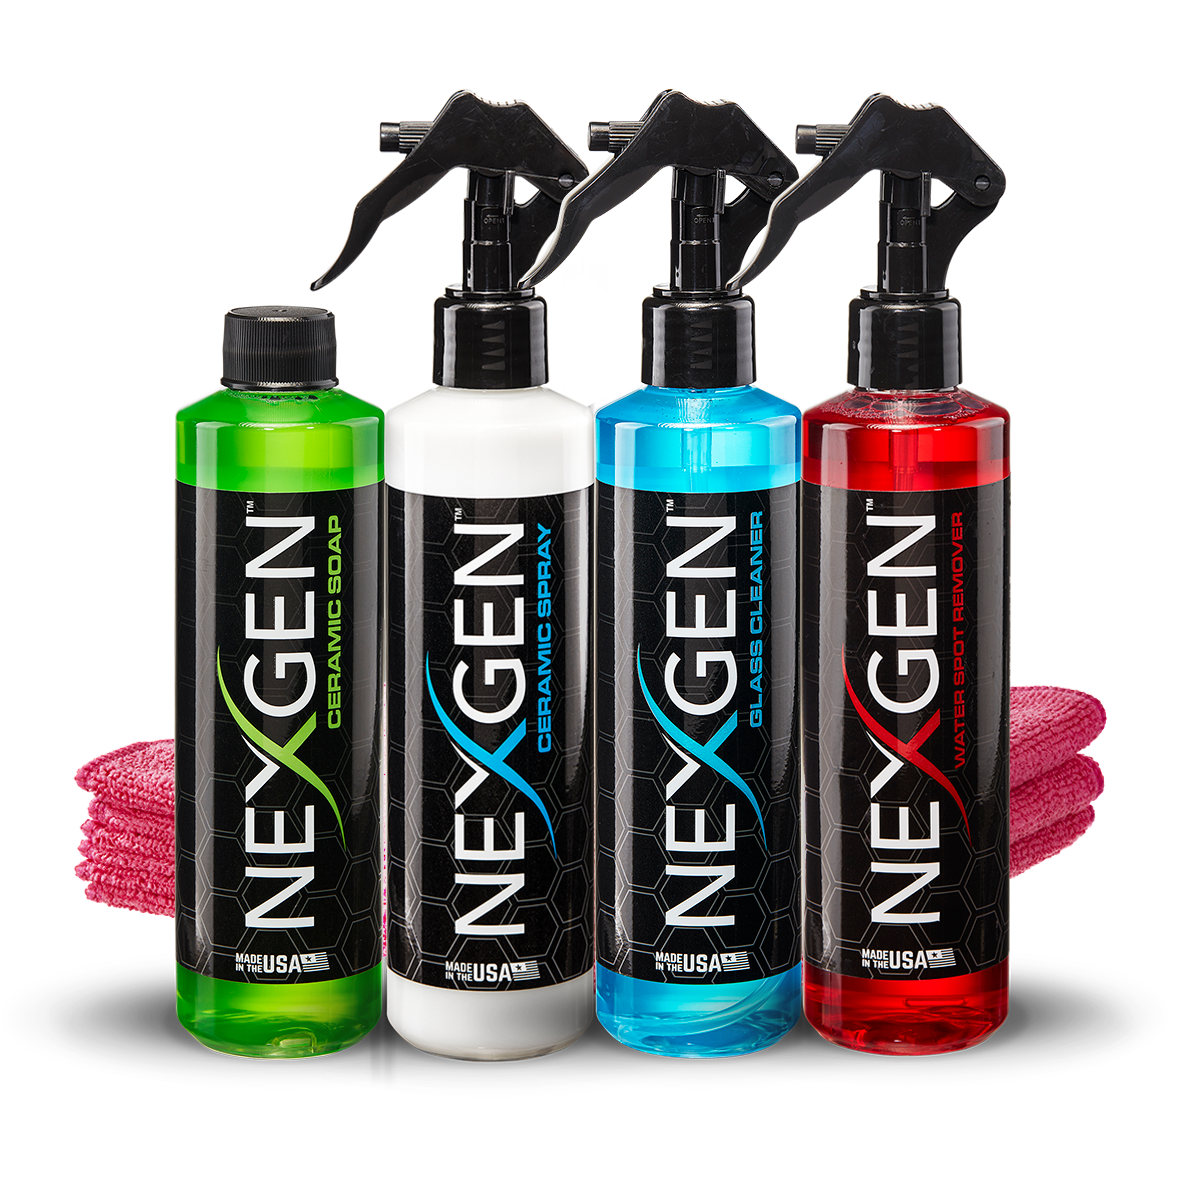
"How to Wash Your Car the Right Way: A Step-by-Step Guide"June 2026 How to Wash Your Car the Right Way Editorial disclosure: This guide is published by Nexgen Detailing. Nexgen products are referenced and clearly identified. Most car washes cause damage. Automatic brush tunnels create swirl marks your detailer will charge hundreds to correct. Gas station touchless washes blast paint with recycled water loaded with other vehicles' grime. Even home hand washing goes wrong when people use dish soap, a single dirty bucket, or work in direct afternoon sun. The right process takes about 45 minutes and requires no professional equipment. What it does require is understanding what actually harms paint — so you can avoid it. --- What You Need Before You Start Getting the gear right matters more than technique. The wrong soap strips a ceramic coating in a single wash. One bucket means dragging the dirt you just lifted back onto the next panel. Minimum gear list: Two wash buckets with grit guards A microfiber or genuine lambswool wash mitt A pH-neutral, ceramic-safe car wash soap Clean microfiber drying towels (at least two large ones) A foam cannon or foam gun (optional — works with a garden hose too) A leaf blower or car dryer for clearing door jambs and mirrors (optional) The soap question. Dish soap and "wash and wax" formulas are alkaline and strip protective coatings in a single use. If your car carries any ceramic spray or sealant, use a pH-neutral formula designed for coated vehicles. Nexgen Ceramic Soap is our top pick: balanced pH, dual-action SiO₂ that replenishes coating chemistry during the wash itself, and compatible with two-bucket, foam gun, and foam cannon setups. For a full comparison of options, see our best ceramic car wash soap guide. --- Step-by-Step: How to Wash Your Car the Right Way Step 1: Choose Shade, Not Sunlight Temperature matters before you touch the car. Soap dries on panels in direct sunlight before you can rinse it — leaving streaks and water spots you'll then need to correct separately. Wash in the morning, evening, or a shaded spot. If paint is hot to the touch, let the car cool first. Step 2: Pre-Rinse Top to Bottom A thorough pre-rinse dislodges loose surface dirt and reduces how much grit the wash mitt has to drag across paint. Work roof first, then windows, hood, trunk lid, then lower door panels and rocker panels. The lowest panels carry the most road contamination and need the longest rinse. Use a pressure washer on a wide fan tip (25° or 40°) if you have one. A garden hose with a wide-spray nozzle works fine without a pressure washer. Avoid narrow-jet tips near paint. Step 3: Set Up Two Buckets Fill Bucket 1 with clean water and two ounces of wash soap. Place a grit guard at the bottom. Fill Bucket 2 with clean rinse water and a second grit guard. The workflow: load the mitt from Bucket 1 → wash a panel → dunk the mitt in Bucket 2 and agitate against the grit guard to release trapped dirt → reload from Bucket 1 → next panel. The grit guard captures contamination at the bottom of the rinse bucket so it can't be picked back up. Skipping this is the most common cause of swirl marks from home washing. Step 4: Wash Panel by Panel, Top to Bottom Work one panel at a time in overlapping, straight passes — not circular motions. Circular motions create circular swirl marks that catch light at every angle. Straight passes create linear marks that are far less visible and easier to polish out if they appear at all. Order: roof → hood and trunk lid → upper doors and windows → lower doors and quarter panels → rocker panels. Rinse the mitt in Bucket 2 every single time you move to a new panel. Step 5: Wheels Last, with a Dedicated Brush Wash wheels after the body, never before — and never with the same mitt you used on the paint. Brake dust is ferrous, abrasive, and chemically reactive with clear coat. Drag that contamination across paint panels and the two-bucket system you just set up means nothing. Use a long-handled wheel brush for the barrel and spokes, and a smaller detail brush for lug nut recesses. A separate small bucket with diluted wheel cleaner handles heavy brake dust buildup. Step 6: Final Rinse — Sheet the Water Off Remove the nozzle from the hose for the final rinse. Water flowing as a wide sheet across paint carries far more of itself away than a direct spray — fewer droplets left to towel-dry means less contact time and fewer chances for scratches. If your car has a ceramic coating in healthy condition, you'll see tight beading and aggressive sheeting across flat panels at this stage. Weak beading — water spreading into thin sheets instead of tight droplets — signals that the coating needs maintenance. Step 7: Dry Immediately with Microfiber Standing water left to air-dry deposits the minerals dissolved in tap water as white spots. In hard water areas, those spots can begin etching clear coat if left for hours in summer heat. Prevent them rather than correct them — water spot removal is significantly more work than fast drying. Blot and drag gently with plush microfiber drying towels. Avoid chamois — they drag rather than lift water and can scratch clear coat over time. Start at the roof and work down. Two large microfiber towels handle a full-size sedan. A leaf blower or car dryer clears water from door jambs, mirrors, fuel door recesses, and trim gaps before you start toweling — those spots drip back onto dry paint if you miss them. Step 8: Apply Post-Wash Protection Washing removes contamination but also strips some of the sacrificial protective layer from your sealant or coating. A quick maintenance application after drying keeps protection consistently stacked. On a car with a ceramic coating, a spray-and-wipe of Nexgen Ceramic Spray after every few washes dramatically extends the durability of the base coat. Spray per panel, spread with a clean applicator, buff with a second microfiber — done in under 10 minutes. See the full application guide for first-use tips and surface prep requirements. Step 9: Rinse and Store Your Gear Clean Wash mitts and microfiber towels need a thorough rinse after every use. Dirt trapped in the fibers transfers directly to paint the next time you wash. Air dry microfiber — dryer heat damages fibers over time and reduces their scratch resistance. --- 5 Mistakes That Damage Paint at Every Wash Washing in direct sunlight. Soap dries before you rinse it, requiring additional passes that create extra friction and risk. Move the car or wait for shade. Using dish soap or all-purpose cleaner. These are alkaline and strip wax, sealant, and ceramic coatings in a single wash. Use pH-neutral car wash soap every time. Single-bucket washing. One bucket converts to contaminated wash water after the first panel. That grit goes right back onto the mitt and onto the paint. Two buckets with grit guards break the cycle. Circular scrubbing. Circular motions create circular swirl marks — easy to see in direct sunlight, hard to remove without a machine polisher. Straight passes parallel to the car's body lines are safer. Letting water air-dry. Any area you miss during towel-drying becomes a water spot. In hard-water regions, those spots can etch into clear coat quickly. Dry immediately, and if spots appear despite prompt drying, our water spot removal guide walks through the fastest correction methods by severity. --- Product Comparison: What to Use at Each Stage Stage Budget Option Best Pick Pre-rinse Garden hose, wide spray Pressure washer, 25° fan tip Wash soap Turtle Wax Hybrid Solutions Nexgen Ceramic Soap (SiO₂ replenishing) Wash mitt Any microfiber mitt Dedicated microfiber or lambswool, per car Drying Chamois Plush microfiber drying towel ×2 Post-wash protection Meguiar's Ultimate Quik Spray Nexgen Ceramic Spray --- FAQ How often should you wash your car? Every two weeks is the standard for a daily driver. Cars parked outside near trees, birds, or construction sites may need weekly washing. The longer contamination — especially bird droppings and tree sap — sits on paint, the harder it is to remove without etching. In summer heat, bird droppings can begin damaging clear coat in under an hour. Is the two-bucket method really necessary? Yes, if preventing swirl marks matters to you. A single bucket becomes contaminated after the first panel. The grit from panel one gets loaded back onto the mitt and dragged across every subsequent panel. Two buckets with grit guards break that cycle. The cost is under $15 compared to a paint correction appointment that can run $200 or more. What soap should I use on a ceramic-coated car? pH-neutral only. Avoid "wash and wax" formulas — those formulas interact with coating chemistry in ways that accelerate degradation. Nexgen Ceramic Soap is purpose-built for coated vehicles and adds SiO₂ back to the surface during the wash itself. Our best ceramic car wash soap guide benchmarks five options across the same criteria. Can I use a pressure washer on my car? Yes, with the right technique. Use a 25° or 40° fan tip and maintain at least 12 inches of distance from paint. Avoid 0° or 15° tips anywhere near clear coat — the concentrated pressure can lift decals, damage rubber seals, and chip paint on leading edges. A pressure washer significantly improves pre-rinse effectiveness and makes the final sheeting rinse much more efficient. How do I know if my ceramic coating needs maintenance? Watch the water behavior during the final rinse. A healthy coating produces tight, aggressive beading — water rolls off in distinct droplets. When beading flattens out and water spreads into thin sheets, the hydrophobic layer has worn thin. A post-wash application of Nexgen Ceramic Spray restores beading behavior without requiring a full re-application. For a full breakdown of how ceramic coatings work and how maintenance stacking extends their life, see our complete ceramic coatings guide. --- The Bottom Line The process is straightforward: shade, pre-rinse, two buckets, panel-by-panel with straight passes, immediate drying, and a maintenance protectant after. Get each step right and a good ceramic coating holds through wash cycle after wash cycle. Nexgen Ceramic Spray holds a 4.5-star average across 8,455+ Amazon reviews — one of the most reviewed consumer ceramic coatings available. Pair it with Nexgen Ceramic Soap for a wash routine that cleans and restores protection in the same session. Read the full buyer review breakdown before you buy. Back to blog