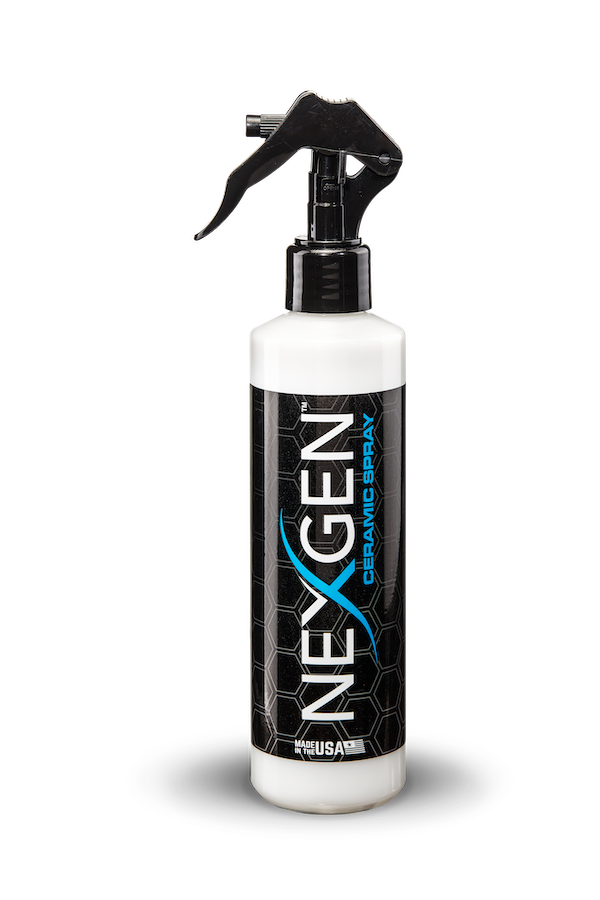
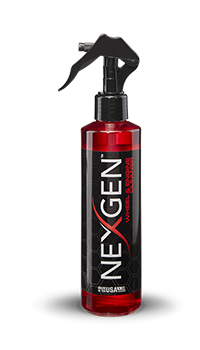
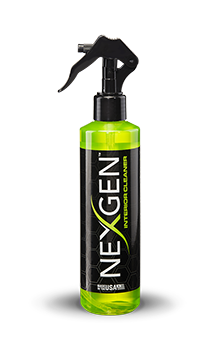
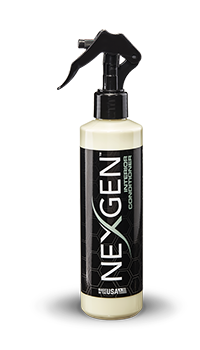
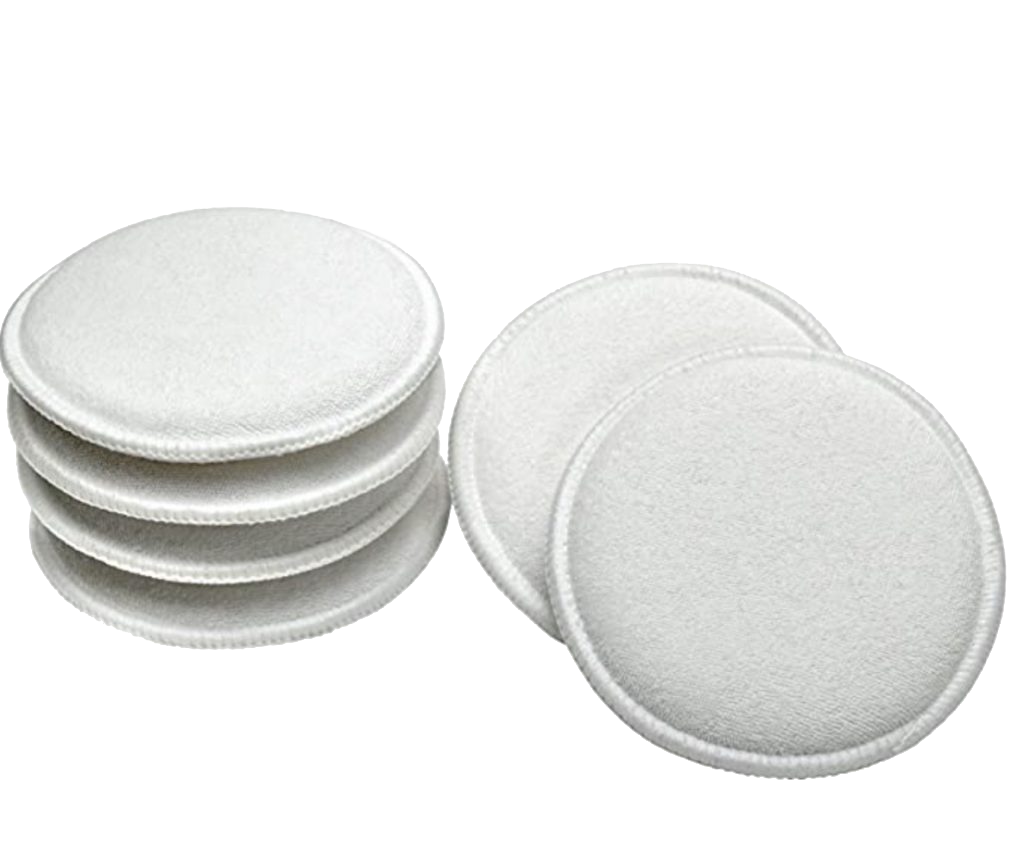
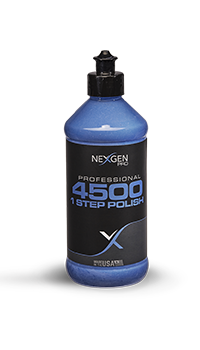
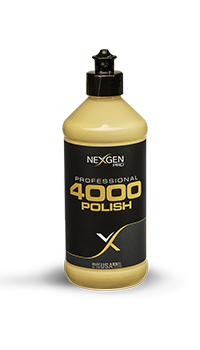
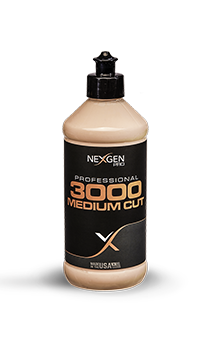
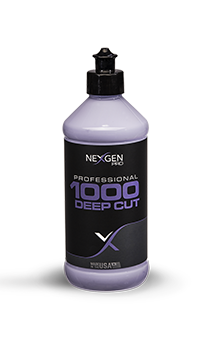
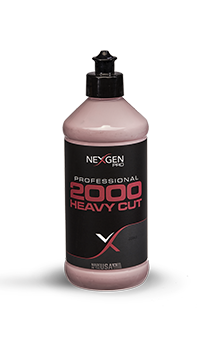
How to Use a Dual Action Polisher: Beginners GuideOctober 2026 How to Use a Dual Action Polisher: A Beginner's Guide A dual action (DA) polisher is the safest way to get professional-looking paint at home. The pad spins and oscillates at the same time, so heat doesn't build up in one spot the way it does with a rotary buffer. That makes it forgiving, but technique still decides your results. This guide covers what to buy, how to set up, and how to work a panel from the first pass to the final wipe. Our guidance below comes from synthesizing detailer guides, manufacturer manuals, and enthusiast forum threads. It isn't first-hand lab testing, and exact dial numbers vary by machine. Your polisher's manual is the final word on speed settings. What a DA Polisher Actually Fixes Polishing removes a microscopically thin layer of clear coat to level out defects. It works on: Swirl marks and spider webbing Light scratches you can't catch with a fingernail Water spot etching and oxidation haze Dull, lifeless gloss It will not fix deep scratches that catch your nail, or rock chips and failed clear coat. Know that going in, and you won't chase a defect that polishing can't remove. What You Need Before You Start A DA polisher. Most beginner roundups recommend a 6-inch-plate machine, with the Griot's Garage G9 and Chemical Guys TORQX kit coming up most often. Treat any star ratings you see in those roundups as rough guidance and check the live listings yourself. Pads. Start with foam. A cutting pad, a polishing pad and a finishing pad cover nearly every job. Compound and polish. The Nexgen range is built around this exact workflow (more on that below). Microfiber towels, painter's tape, and an inspection light. See our detailing accessories for pads, towels and prep tools. A clean, washed, clayed car. Polishing over grit grinds it into the paint. If you're new to prep, our beginner's guide to car detailing walks through the wash and decontamination steps first. Match the Product to the Job Polishing is a ladder. Start with the least aggressive combination that works, and only step up if it doesn't. Stage Nexgen product Best for Heavy defects 2000 Heavy Cut Noticeable swirls and oxidation Deeper correction 1000 Deep Cut Stubborn defects on neglected paint Medium refinement 3000 Medium Cut Moderate swirls and removing cutting haze Final finish 4000 Polish Maximum gloss before protection Most daily drivers don't need the most aggressive stage. If your paint only has light swirls, begin in the middle of the range and move up only if the test spot demands it. Step 1: Do a Test Spot Every experienced detailer recommends this, and beginners skip it most often. A test spot proves your pad, product and technique on one small area before you commit to the whole car. Pick a flat, representative panel, such as part of the hood. Tape off a small square, roughly 16 to 20 inches, so you can compare polished and unpolished paint. Run your planned pad and polish combination. Wipe, inspect under good light, and judge. If the defects are gone, you've found your process. If not, step up to a more aggressive pad or product and test again. If the first combination worked fine, you may even be able to go less aggressive. Step 2: Prime the Pad and Apply Product A dry pad grabs and skips, so prime it first. Put a few small drops of polish around the face of the pad, or work a little in with your finger. For each section, add about four pea-sized drops. Set the pad flat on the paint before turning the machine on, and lift it off the panel before turning it off. Starting or stopping in the air flings product everywhere. Dab the machine across your section on the lowest speed to spread the polish, then raise the speed. Using too much product is a common beginner habit. A saturated pad stops cutting well and can stop rotating, so use less than you think you need and clean the pad often. Step 3: Set Speed and Pressure Dial numbers differ between machines, so think in terms of stages rather than exact figures: Spreading: low speed, around 2 to 3 on a typical six-speed dial. Cutting (removing defects): the upper-middle of the dial, commonly 5 to 6. Finishing and refining: slightly lower, commonly 3 to 5. Fear pushes beginners toward running too slow, which means the polish never breaks down properly. At the same time, the motor noise tempts you to move your arms too fast. Stay confident on speed and deliberate on arm movement. Pressure should be light. A common rule across guides and manuals is to let the machine's own weight do most of the work and add just enough downward force to keep the pad flat. If you press so hard the pad stops spinning, ease off until it rotates again. A quick trick: draw a mark on the backing plate or pad edge so you can see whether it's turning or just vibrating. Step 4: Work in Small Sections Aim for a section of about 16 to 20 inches square. Harder paint, tight curves and heavy defects call for even smaller areas. Follow this pattern: Move the polisher in overlapping passes. Go side to side across the section, then up and down, so you cover everything twice. Move slowly, roughly one inch per second. Slow arm speed is what actually removes defects. Keep the pad flat to the surface. Tilting concentrates pressure on the edge and can cut through paint on corners and body lines. Do around three to four full passes, then stop. Wipe with a clean microfiber and inspect. On edges and body lines, keep the pad rotating off the edge rather than into it. These areas have thinner paint, so be gentle and use less pressure. Step 5: Wipe, Inspect, and Clean the Pad Wipe the residue off with a clean, dry microfiber, then check the panel under a handheld light or direct sunlight. Spray a light panel wipe if you want to confirm what's really been removed and not just filled. Clean the pad between sections. A stiff brush or a blast of compressed air clears spent product and removed paint. A caked pad cuts poorly and runs hot. Swap to a fresh pad when it stays saturated. Step 6: Refine, Then Protect If you used a cutting product, follow with a finishing polish and a softer pad. That second step removes light hazing and brings out the deepest gloss. Then wipe the whole car down to remove polishing oils so your protection can bond. Polished paint is bare paint, so protect it right away. A coating or sealant locks in the gloss and makes future washes easier. Our guide on applying ceramic coating with Nexgen Ceramic Spray shows the simplest way to finish the job. For more step-by-step guides, browse the Nexgen Detailing blog. Common Beginner Mistakes to Avoid Skipping the test spot. It costs ten minutes and saves hours of guesswork. Working too large an area. Product dries out and cutting drops off. Pressing too hard. The pad stops rotating and stops correcting. Rushing arm speed. Slow passes remove defects. Fast passes just move polish around. Tilting the pad. Keep it flat, especially near edges. Polishing dirty paint. Wash and decontaminate first. Forgetting to protect afterward. Fresh polish needs a coating, sealant or wax. FAQ What speed should a beginner use on a DA polisher? Spread the product on a low setting (about 2 to 3), then work at a mid-to-high setting for cutting and a slightly lower one for finishing. Check your model's manual, since dial numbers aren't standardized. Can a dual action polisher burn paint? It's much harder than with a rotary, but not impossible. Heavy pressure, tilting the pad, working edges and staying in one spot too long all add risk. Keep the pad flat and moving. Do I need a compound and a polish? Not always. Light swirls may clear with a single medium-cut step. Heavier defects benefit from a cutting stage followed by a finishing polish. How often should I machine polish my car? Only when defects are visible. Polishing removes clear coat, so use the least aggressive method that works and rely on good wash technique and protection to keep paint looking sharp between sessions. Final Thoughts Using a DA polisher well comes down to a few habits: test first, prime the pad, work small sections, keep the pad flat, use light pressure, and move slowly. Pair those habits with the right Nexgen products for each stage and a protective coating at the end, and you'll get results that rival a professional detail. You can find Nexgen at the official store at getnexgen.com (best for bundles, warranty and the full range), on Amazon through Nexgen's official storefront, at O'Reilly Auto Parts in store and on oreillyauto.com, and at Walmart for select products. Back to blog